
How to Cut and Make Your Own Quill Pen
First you will need a long feather and you will need to temper it. The best way to do temper it is to take an oven proof bowl and fill it with sand. Put it in the oven for 10 to 15 minutes at 350 degrees.
When you take the bowl out of the oven, remember its hot, use pot holders. At this point, put the end of the feather in the sand to temper it. It will go... from a kind of clear to an opaque color.
The feather will become much stronger by doing this. Before cutting the tip, you need to strip the quill of any feathers that will get in the way of your hand.
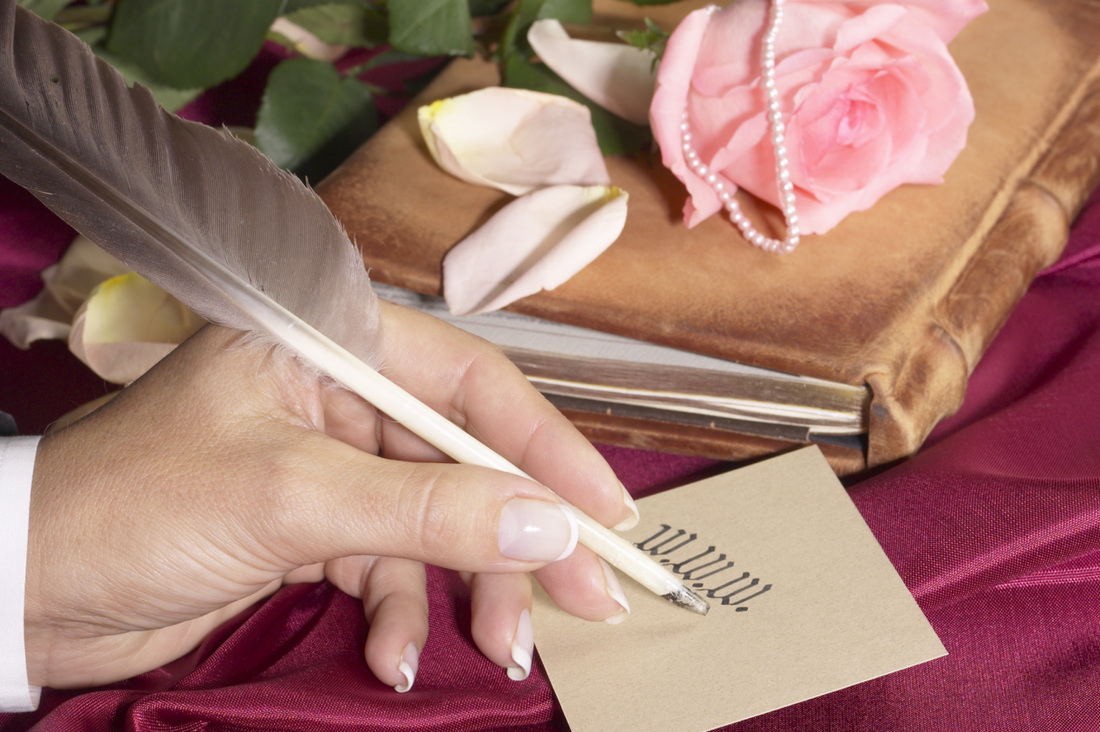
When you cut the quill, make sure you hold the quill in your hand to find the most comfortable writing position. Hold the quill away from you and slice at a downward, but not sharp angle. (Think of how a pencil looks after you sharpen it.)
Now you will need to hollow the quill out, a toothpick will work.
Then you will need to cut the slit on the writing point. Be careful. You can easily crack the quill.
You will need to cut a curve in the writing point, if its too long, you'll flick ink everywhere.
That’s it and now you have a Quill Pen, made as it would have been in the middle ages.
I still remember the fun in the making of these pens. Well made, these are beautiful to write with.
First you will need a long feather and you will need to temper it. The best way to do temper it is to take an oven proof bowl and fill it with sand. Put it in the oven for 10 to 15 minutes at 350 degrees.
When you take the bowl out of the oven, remember its hot, use pot holders. At this point, put the end of the feather in the sand to temper it. It will go... from a kind of clear to an opaque color.
The feather will become much stronger by doing this. Before cutting the tip, you need to strip the quill of any feathers that will get in the way of your hand.
When you cut the quill, make sure you hold the quill in your hand to find the most comfortable writing position. Hold the quill away from you and slice at a downward, but not sharp angle. (Think of how a pencil looks after you sharpen it.)
Now you will need to hollow the quill out, a toothpick will work.
Then you will need to cut the slit on the writing point. Be careful. You can easily crack the quill.
You will need to cut a curve in the writing point, if its too long, you'll flick ink everywhere.
That’s it and now you have a Quill Pen, made as it would have been in the middle ages.
I still remember the fun in the making of these pens. Well made, these are beautiful to write with.
 RSS Feed
